
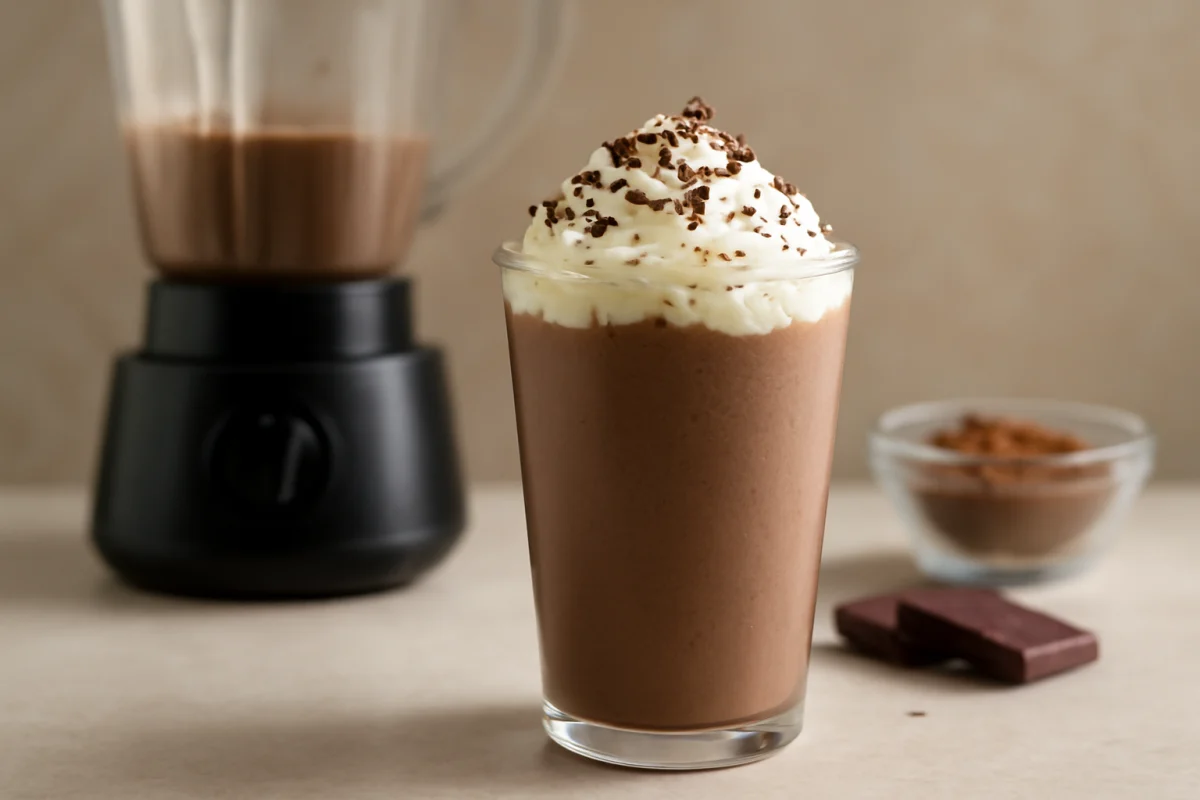
To make a creamy chocolate milkshake in minutes, blend 2 cups of chocolate ice cream with 1 cup of cold milk, 2 tablespoons of chocolate syrup, and 1/2 teaspoon of vanilla extract until smooth. Add a little more milk for a thinner shake or another scoop of ice cream for a thicker texture. Serve immediately with your favorite toppings. For more recipes and practical drink guidance, visit fruit infused detox water.
This creamy chocolate milkshake is a simple treat for an afternoon snack, dessert, movie night, or casual gathering. It requires no stovetop cooking and only a few familiar ingredients, so you can prepare it quickly when you want something cold and chocolatey. The recipe is flexible, too: you can use dairy or nondairy milk, adjust the sweetness, or add toppings without changing the basic method.
For more drink ideas, browse the Drink Recipes section. This milkshake is best enjoyed as a treat alongside a varied eating pattern rather than as a replacement for balanced meals.
Quick Recipe Overview
- Prep time: 5 minutes
- Total time: 5 minutes
- Servings: 2 small milkshakes or 1 large milkshake
- Equipment: Blender, liquid measuring cup, measuring spoons, and serving glasses
Ingredients for a Creamy Chocolate Milkshake
- 2 cups chocolate ice cream
- 1 cup cold milk
- 2 tablespoons chocolate syrup
- 1/2 teaspoon vanilla extract
- Whipped cream, for serving, optional
- Chocolate shavings, mini chocolate chips, or a light drizzle of chocolate syrup, for topping, optional
Use a chocolate ice cream you enjoy, since it provides most of the milkshake’s flavor and body. Regular whole milk creates a rich, smooth result, while 2% milk produces a slightly lighter texture. You can also use unsweetened soy, oat, almond, or coconut milk if you prefer a nondairy version. Check the current package label for allergen information and ingredient details, especially when serving guests.
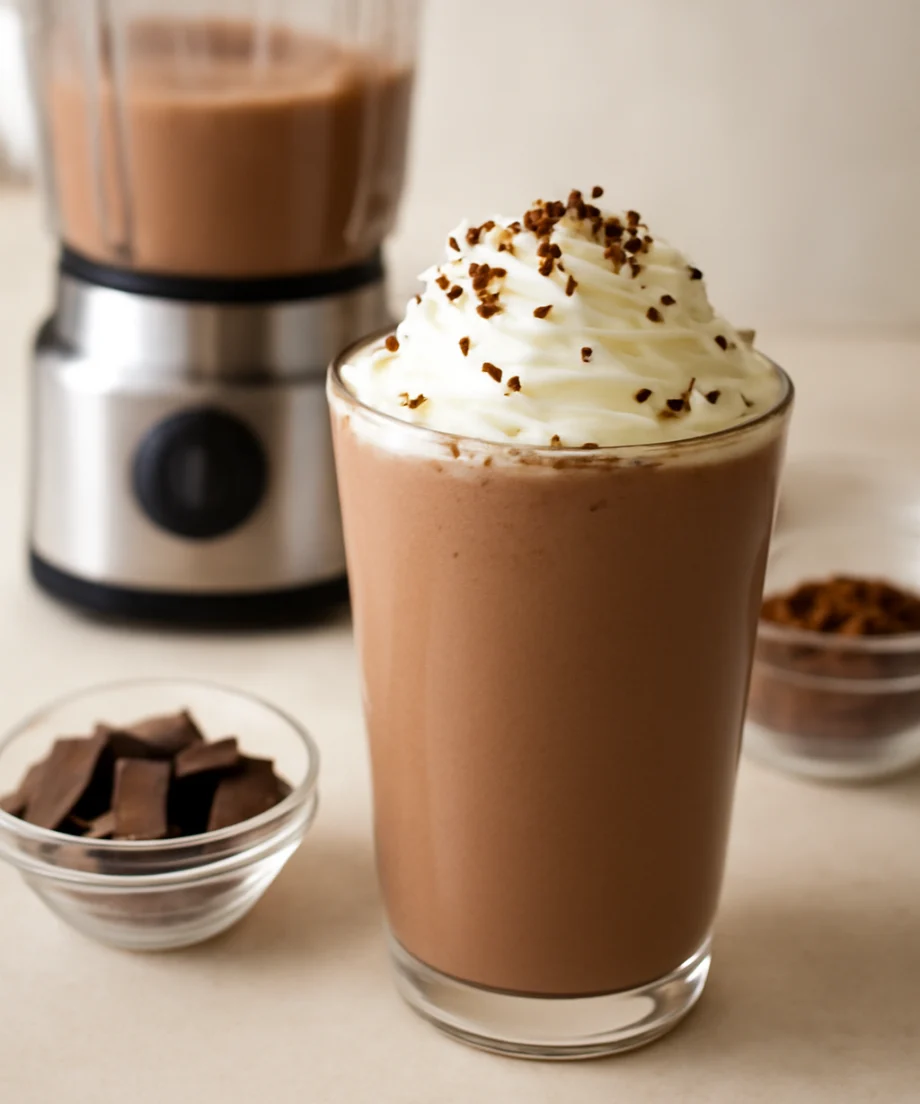
How to Make a Creamy Chocolate Milkshake
- Chill the glasses, if desired. Place two serving glasses in the refrigerator or freezer for a few minutes while you gather the ingredients. This step is optional, but chilled glasses can help the milkshake stay cold a little longer.
- Add the liquid ingredients first. Pour the cold milk into the blender, then add the chocolate syrup and vanilla extract. Starting with the liquid can help the blender move the ingredients more easily.
- Add the ice cream. Scoop the chocolate ice cream into the blender. If it is very firm, let it sit at room temperature for one or two minutes so it is easier to blend. Do not leave dairy ingredients out for an extended period.
- Blend briefly. Start on a low speed and increase to medium or high as needed. Blend just until the mixture looks smooth and creamy, usually about 20 to 30 seconds depending on the blender and the firmness of the ice cream.
- Check the consistency. If the milkshake is too thick to pour, add milk 1 tablespoon at a time and blend briefly after each addition. If it is too thin, add another scoop of ice cream and blend again.
- Taste and adjust. If you want a stronger chocolate flavor, add 1 teaspoon to 1 tablespoon more chocolate syrup. Make small adjustments so the milkshake does not become overly sweet or too loose.
- Pour and serve. Divide the milkshake between the chilled glasses. Add whipped cream or another topping if desired, and serve right away with a spoon or straw.
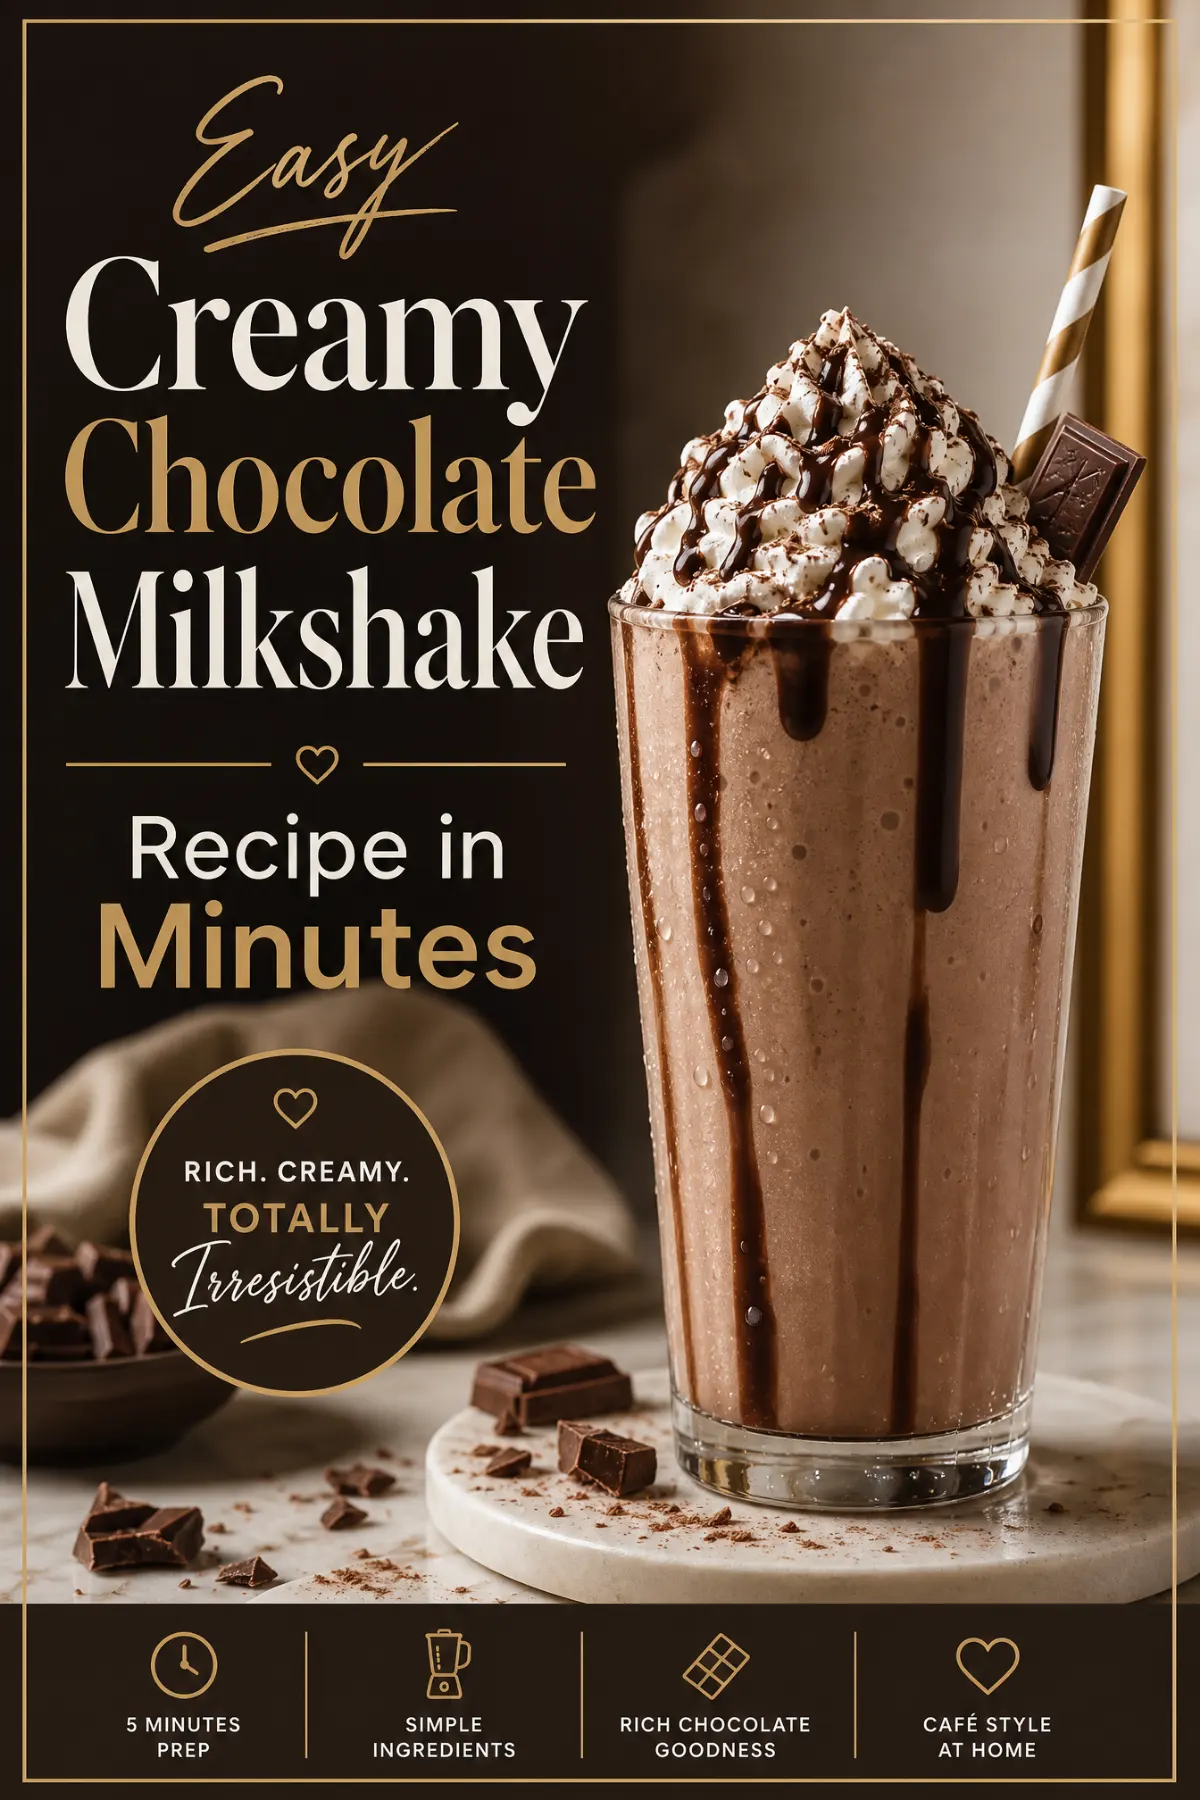
How to Get the Right Milkshake Texture
For a thicker milkshake
Use ice cream that is firm but scoopable, and begin with less milk. You can start with 3/4 cup milk instead of the full 1 cup, then add more only if needed. A short blending time also helps preserve a thick texture. Over-blending can warm the mixture and make it looser.
For a thinner milkshake
Add cold milk in small amounts until the milkshake reaches the consistency you prefer. Pouring in all the milk at once can make it difficult to correct an overly thin mixture. If the finished drink is thinner than you wanted, blend in more ice cream rather than adding ice, which can water down the chocolate flavor as it melts.
For a smoother result
Make sure the ice cream is not frozen into one solid block. Slightly softened scoops blend more evenly and put less strain on the blender. Scrape down the sides once, if necessary, but turn off and unplug the blender before using a spatula near the blades.
Easy Ingredient Alternatives
- Milk options: Whole milk gives the fullest texture, while 2% milk, skim milk, or a plain nondairy beverage can also work. Unsweetened varieties make it easier to control the final sweetness.
- Chocolate ice cream: Chocolate, chocolate fudge, or a dairy-free chocolate frozen dessert can be used. The flavor and thickness may vary by product, so adjust the milk gradually.
- Chocolate syrup: Replace the syrup with 1 to 2 tablespoons of cocoa powder plus an additional sweetener if needed. Cocoa powder may require a little extra blending to distribute evenly.
- Vanilla extract: Leave it out if you do not have it, or use a small amount of espresso powder for a deeper chocolate profile. Espresso powder adds a coffee note, so begin with a modest amount.
- Sweetener: If using unsweetened cocoa powder or a less-sweet frozen dessert, add sugar, maple syrup, or another preferred sweetener a little at a time.
Flavor Variations to Try
Keep the basic proportions, then add one flavor at a time so the milkshake remains balanced. For a peanut butter chocolate milkshake, blend in 2 tablespoons of creamy peanut butter. For a mint version, add a small amount of peppermint extract, remembering that it is concentrated. A banana chocolate milkshake can be made with one ripe banana, although the fruit will make the drink thicker and naturally sweeter.
You can also add a pinch of salt to sharpen the chocolate flavor, or blend in a few ice cubes for a colder, more frappé-like drink. Ice changes the texture and can dilute the flavor as it melts, so use it sparingly. For a mocha variation, add cooled coffee rather than hot coffee; hot liquid can soften the ice cream too quickly.
Serving Suggestions
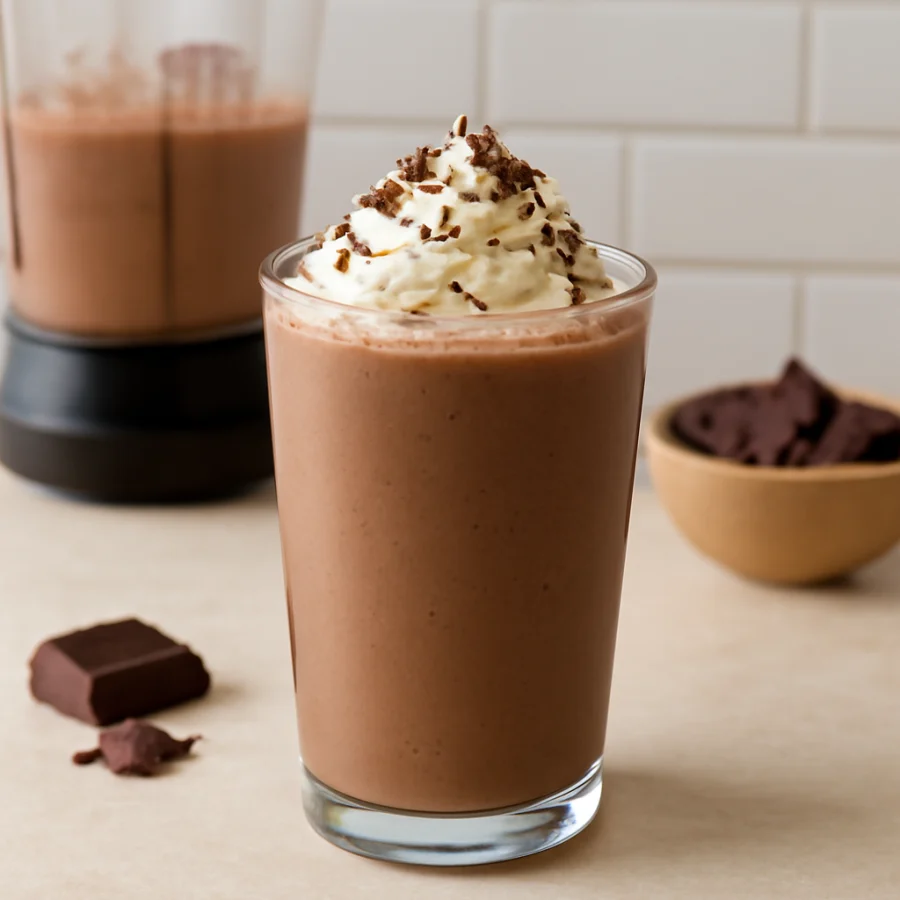
Serve the milkshake in a chilled glass with whipped cream, a light chocolate drizzle, or a few chocolate shavings. Crushed cookies, toasted nuts, or a small pinch of flaky salt can add texture. If you are serving children, use smaller glasses and choose toppings that are appropriate for their age and any known allergies.
For a dessert-style presentation, drizzle chocolate syrup inside the glass before pouring in the milkshake. To make the drizzle, tilt the glass carefully and rotate it while adding a small amount of syrup. Keep the rim clean if you want a neater presentation. Prepare toppings just before serving so they stay crisp and attractive.
Food Safety and Storage
Because this recipe contains ice cream and milk, keep the ingredients cold and return them to the refrigerator or freezer promptly after measuring. Use clean equipment and glasses, and avoid using the same spoon for tasting and serving unless it has been washed. For broader guidance on keeping drinks and ingredients safe, see these Food Safety & Storage resources.
A blended milkshake has its best texture immediately after preparation. If you have leftovers, cover them and refrigerate them promptly. The mixture may separate or become thinner, so stir it before drinking. Do not leave a dairy-based milkshake at room temperature for an extended period; follow current food-safety guidance for perishable foods. When in doubt about how long it has been unrefrigerated, discard it rather than tasting it to judge safety.
Common Questions
Can I make this chocolate milkshake without a blender?
Yes, although the texture may not be as smooth. Let the ice cream soften slightly, then whisk it with the milk, chocolate syrup, and vanilla in a large bowl. A hand mixer can make the process easier. Avoid trying to shake very thick ice cream in a sealed jar, since pressure and splashing can create a mess.
Why is my milkshake too thin?
The most common reasons are too much milk, ice cream that has melted significantly, or blending for too long. Add another scoop of ice cream and blend briefly. Next time, begin with less milk and increase it gradually.
Why is my milkshake too thick?
Add cold milk 1 tablespoon at a time and blend briefly after each addition. Letting the ice cream soften slightly before blending can also help it combine with the liquid more evenly.
Can I prepare it ahead of time?
This recipe is best made just before serving because the texture changes as it sits. If you must prepare it ahead, refrigerate it in a covered container and stir it before serving. For the freshest consistency, blend a new batch when possible.
Can I reduce the sweetness?
Yes. Start with less chocolate syrup, choose an unsweetened milk option, or use a less-sweet chocolate frozen dessert. Taste the mixture before adding more syrup, since different ice creams vary in sweetness.
Recipe Summary
A creamy chocolate milkshake comes together with chocolate ice cream, cold milk, chocolate syrup, and vanilla extract. Blend the ingredients briefly, adjust the thickness with small amounts of milk or ice cream, and serve immediately. With simple substitutions and careful portion adjustments, this recipe can fit different flavor preferences while keeping the preparation quick and straightforward.



Comments
0No comments yet. Be the first to share a helpful note or question.
Leave a Comment
Your email address will not be published. Comments are reviewed before appearing on the site.